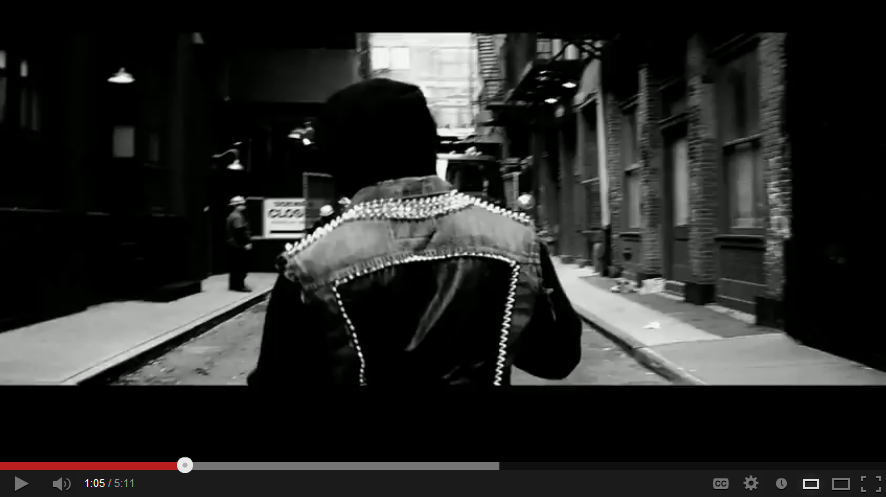
I recently made a vest for Qu3sts new music video Revolutionary Affiliates.
Go check out the full video!!!! Oh yea and Im in it too!! Woop woop!
Qu3st- Revolutionary Affiliates
Hope you enjoy!
Showing posts with label NYC Fashion. Show all posts
Tuesday, January 8, 2013
Lavoz For Qu3st
Tuesday, March 22, 2011
Williamsburg
Good news! I'm going to start linking some products in the posts,mostly in the Materials list to help you get the things you need to make the projects. If I'm not able to find it online ill leave you a note at the bottom of the post. Hope you enjoy the new feature.
I actually had a lot of fun in Williamsburg this week, the energy and vibe in this hood was awesome. The counter-culture independent thinking translated into the clothes seen through out the streets. The Eco-friendly artisan style was extremely approachable. You've gotta love the new urban bohemian, the "hipster"!
This weeks how to: Chain Headpiece
Materials
chain
charm
Step1: Cut 2 pieces of chain. One to go on top of ur head from front to back, the other to hang on the sides. Cut to desired length using the flat nose pliers.
Step2: Take your center chain and put the end caps on and squeeze them with the flat part of the pliers to secure them.
Step3: Fold the other piece in half and connect the center point to one end cap using the jumprings.
Step4: Connect the 3 loose ends and the charm using a jumpring
Note: I bought my chain and charm at my local craft store. You can play around with different types of chains and pendents to make it your own.
Labels:
DIY,
headpiece,
hipster,
NYC Fashion,
williamsburg
Tuesday, March 15, 2011
Harlem
So I hit the streets of Harlem in the pouring rain for the love of style. While most use the rain as an excuse to slap on their sweats with a pair of boots some just cant help being awesome. There weren't really any recurring trends from what I saw besides an umbrella but the look was very urban and diverse.


Dakota & Devani from Icicle Dust, click on their pic to go to their site. I love their video

Dakota & Devani from Icicle Dust, click on their pic to go to their site. I love their video
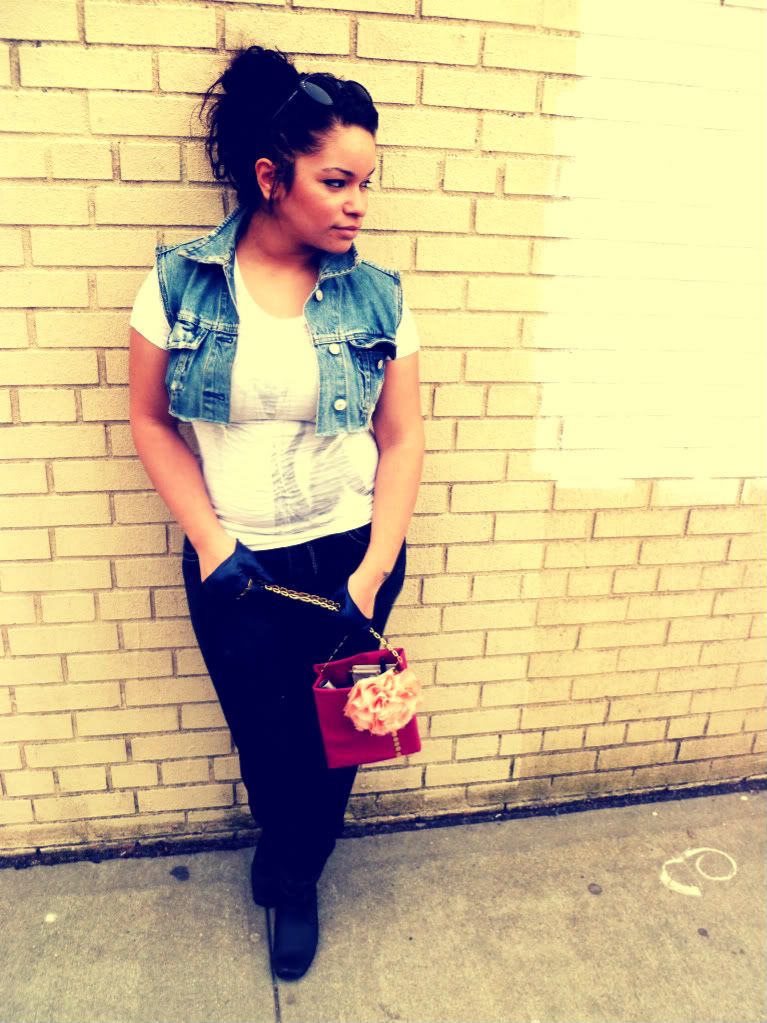
This weeks how-to: Spring Bag
Materials
Cardboard box
fabric
fabric glue
scissorschain
Clothes/bobby pins(optional)
decorations(optional)
Step1: Cut the flaps off of your cardboard box top
Step2: Place your box on your fabric, cut a piece to cover the bottom and one to cover all 4 sides of the box leaving an inch or 2 for the top. You should end up with 2 pieces.
Step3: Glue the bottom, cut off any excess. Now glue your big piece to the sides aligning it with the bottom.
Step4: Cut the fabric at the corner. Add glue to the top inside of the box and fold over. You can add clothes or bobby pins to make sure it stays put until the glue dries
Wednesday, February 23, 2011
Queens
I can sum up what I saw at Queens Center Mall in one word, disappointing. I honestly thought the area might have more character than it actually did. I walked the area several times and through the mass of boring cookie cutter "style". Queens I know you can do better, shame on you. After a couple of hours I was able to find some people who had a sense of personal style and things that stood out from crowd classic aviators, an awesome hot pink bedazzled down coat and leopard print manicures.
Queens of Queens
Queens of Queens
This weeks how to: Ribbon bling
Materials
Ribbon
Chain
Wednesday, October 21, 2009
5th Avenue

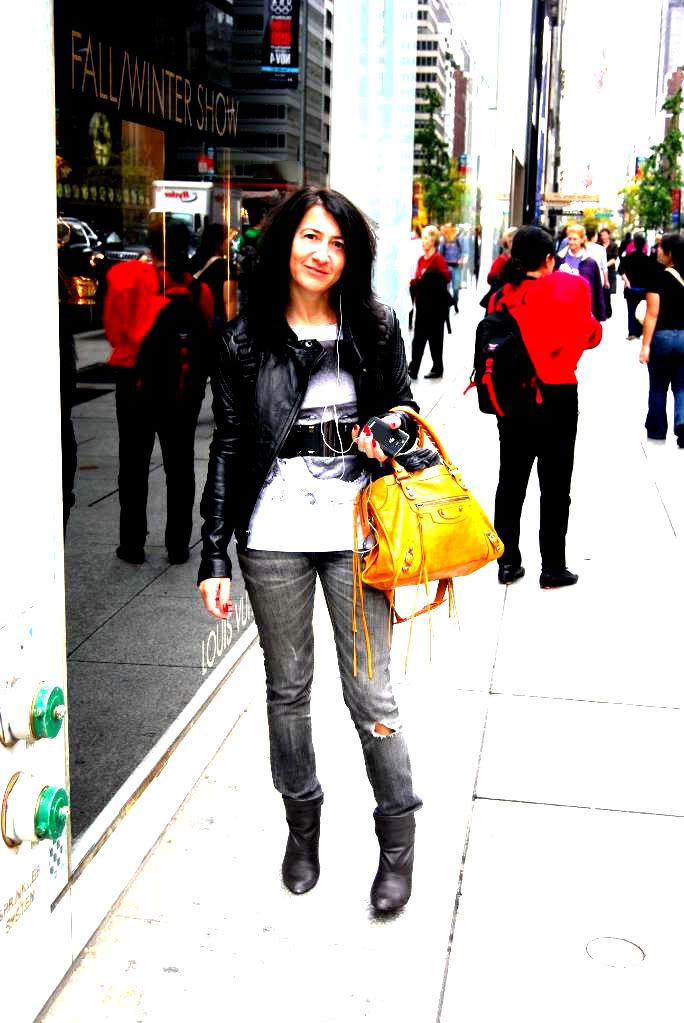
How can I begin to describe 5th Avenue. If you want to be in the fashion industry I guess it's one of the places that you want to be. The streets are lined with designer stores and gorgeous window displays. The look of the New Yorkers I could instantly spot among masses of tourists was minimal chic with designer accesories. Monogram Louis and Guccis definitely run 5th avenue. It's the place to be if your pockets are nicely lined for spending. Too bad mine aren't.
5'ths Snazziest
This weeks How-To: "Stud your life"
Materials
Flat back Studs
Multi Purpose adhesive
Pair of Tweezers
Something to stud
Step1: Make sure the surface of whatever you're studding is clean
Step2: Grab a little piece of paper and squeeze a little adhesive onto the paper
Step3: Using the back of your tweezers apply a small amount of adhesive to the back of a stud.
Step4: Place the stud on your item using the tweezers and repeat until you get lazy or think you're done.
Step 5: Viola, an easy update to an old boring pair of shoes. Sit back and think about how your life just became a little bit more awesome.Notes: For the Adhesive I used Beacon's Gem-Tac permanent adheisive. Both the glue and studs were found at M & J trimming
Labels:
5th avenue,
DIY,
fashion,
New York City,
NYC Fashion
Wednesday, September 30, 2009
Downtown Style
So since I, like many others in NYC, am a frugalistic style freak I decided to create a blog catering to the penny-wise and stylish of New York. I couldn't find any blogs or website that incorporated NYC's amazing style and simple How-Tos so here we are.
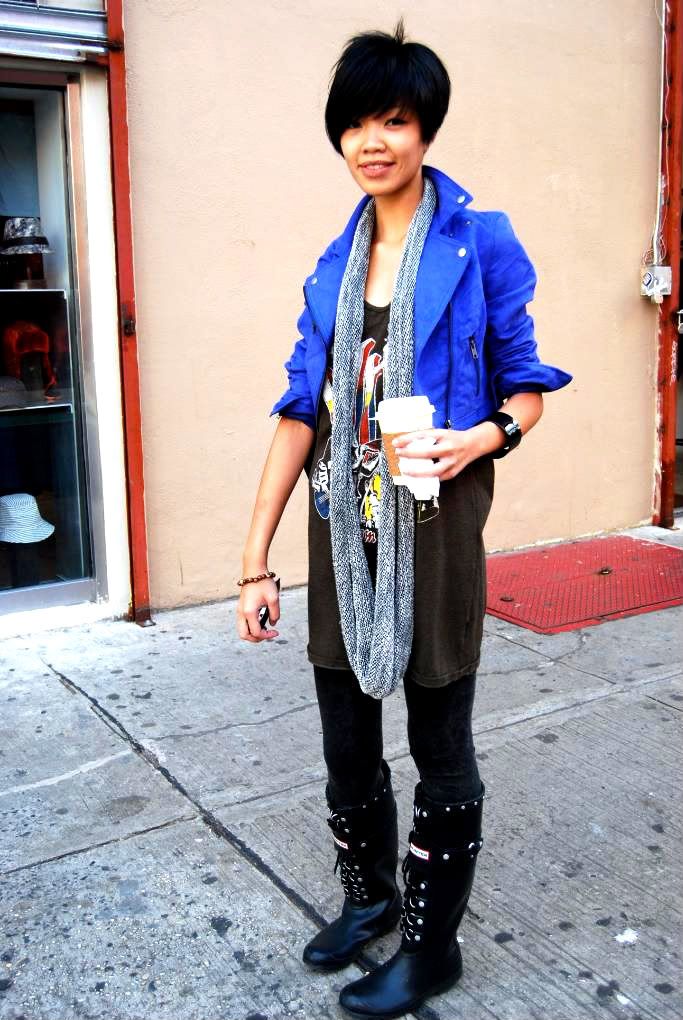
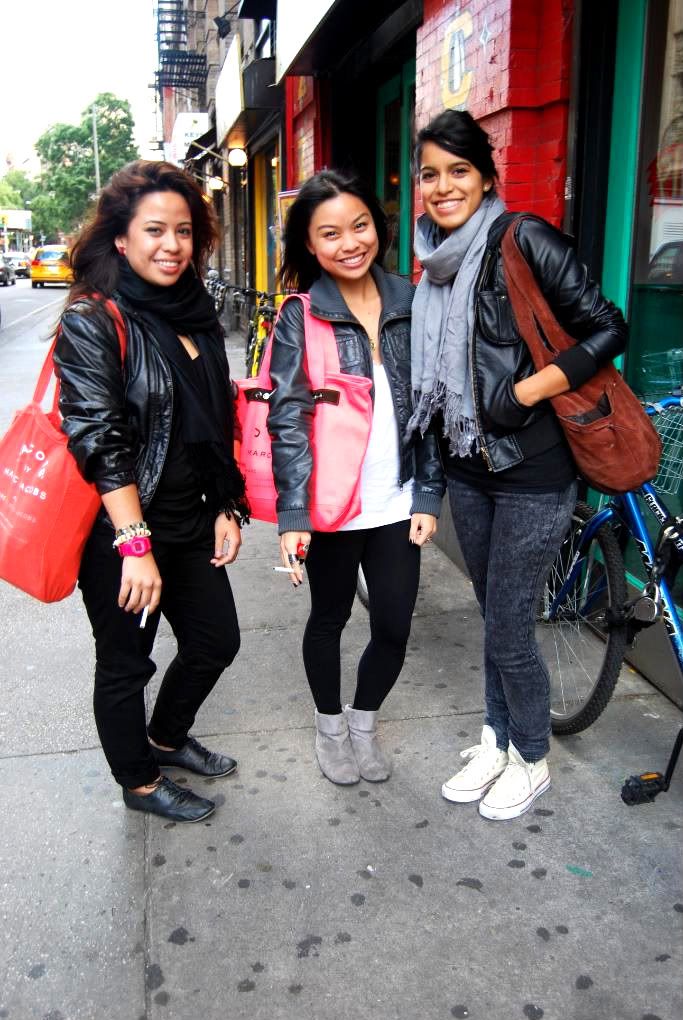
For my First blog I hit the streets of downtown Manhattan, the Soho area. The feel and style was laid back, rocked out and rather Eco-friendly. Top trends were motorcycle jackets, knee high boots/booties, recyclable shopping totes and of course SCARVES!
RUNNING WILD IN SOHOTry This Look
Tabitha's Rock Eclectic Style
- Play around with layors
- Accesorize
- Always have 1 item that pops
This weeks how-to: Drape Vest
Materials
Fabric( very light Jersey material would probably work best)
1 pushpin
a pencil
scissors
tape measure
Step 1: Cut your fabric into a rectangle, about 30x40 should be good for a regular sized vest
Step 2: Fold your fabric in half, short end to short end. Fold fabric again, short side to short side Step 3: Take your tape measure and your pin. Stick the pin in the tape measure @ around 7 inches, then hold the pin in place on the corner(the corner with both folder edges), take your pencil and draw a quarter circle.
Step4: Make sure your fabric is extremely flat and cut out your quarter circle. When opened up half way it should look like half a circle and when completely open should look like a full circle.
Step 5: Throw that bad boy on, put a belt on it....go crazy.
Now i didnt follow most of my own rules. I was never very good with rules, lol so decided to make my version super long and probably made with the worst material to use for this project, but hey it floats my boat.
Subscribe to:
Posts (Atom)